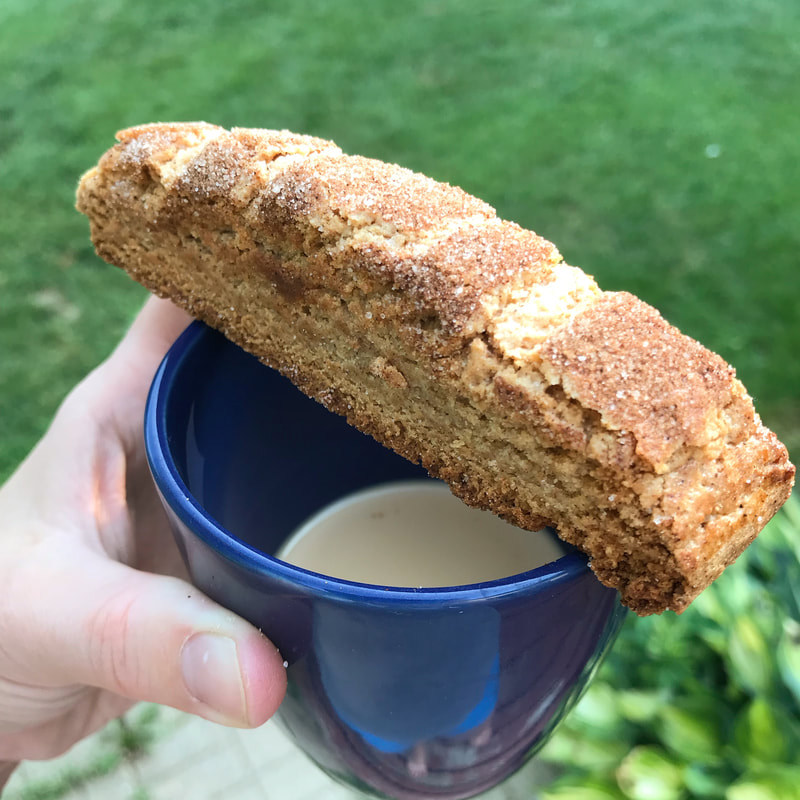
 Friendship is an amazing thing. You rarely expect to make a friend. There are few instances in your life where you think you are going somewhere and you are going to meet a "kindred spirit" as Anne Shirley would say. I have been blessed in the friendships department and have met so many wonderful people throughout my life. As an adult I have even managed to maintain friendships that withstand being separated by great distances. These cookies are for one of those friends. A friend of mine that is a jewelry maker recently sent me the most beautiful hair ornament; it is a handcrafted copper honeycomb that is held together with a hand hammered pin. To try and thank her for so an enormously wonderful gift I am putting together a biscotti and tea thank-you present and this is one of the biscotti I am including. Biscotti is great because it is already dried out and is quite hard so it will withstand a great journey. Plus if it is left on her stoop in the Arizona heat, no damage will come to my little cookie babies. So let's get baking.
Friendship Cinnamon and Sugar Biscotti Ingredients: Cookie Base: · 6 TBL room-temp softened butter · 1 cup sugar · 1 whole egg plus 1 egg yolk · ½ tsp almond extract · ½ tsp vanilla extract · 2 cups flour · 1 tsp baking powder · 1/4 tsp salt · 2 tsp cinnamon Sprinkled Topper · 1/4 cup granulated sugar · 1 teaspoon cinnamon · 1 egg, beaten 1. Preheat your over to 325 degrees. 2. Next combine all of your dry ingredients into a bowl and sift. Set these aside to be ready for combining. 3. Place the butter into the bowl of a stand mixer and using the paddle attachment beat it on medium until the butter is fluffy and starts to turn white. Add the sugar and beat a couple of minutes more. 4. Next add the whole egg and the egg yolk into the butter. Stopping to scrape down the sides to be sure that it is completely combined. 5. Once combined, add the almond and vanilla extract and beat to combined. 6. Now grab the bowl of dry ingredients and add 1/3 of the mixture into the bowl and beat until combined, scraping down the sides periodically. Continue to do this until all of the mixture is added. 7. Line a baking sheet with a bit of parchment paper and overturn the dough onto the sheet. Shape it into a log 12 inches long, by 3 inches wide. 8. Shape dough into a long log, about 3 inches by 10-12 inches. Place on a parchment lined baking sheet. Brush with beaten egg, combine sugar and cinnamon topping and generously sprinkle over log. Bake for 45 minutes in a preheated 325 degree oven. Remove from oven and while still warm, slice diagonally into 3/4 to 1 inch slices. Place slices back on baking tray, slice side down. sprinkle with remaining cinnamon sugar. Place back in oven for 15 minutes, until just golden. 9. Let cool completely then store in air tight container.
0 Comments
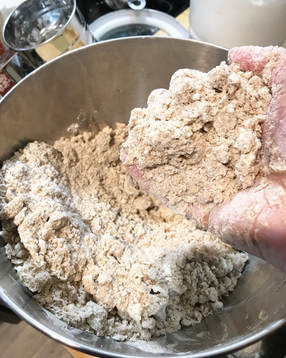
A good recipe JUST in time for St. Patrick’s Day tomorrow. This would be a wonderful accompaniment to any corned beef and cabbage dish you are bound to be cooking up. So this one is a traditional Irish soda bread, and a soda bread is just a bread that uses baking soda as its main leavening agent rather than the traditional yeast in most other breads. Along with this, comes less rise times and therefore is MUCH easier to make. I made this bread this week for my school’s Lenten Lunch that we are doing on Fridays and it was wonderfully moist and oh so delicious. I don’t even eat bread that much and I was eyeing another piece. The original recipe comes from an Irish blogger and I had to convert all of the measurements and times for the bread but I think I did a pretty good job. Plus, you know it’s the real thing since an Irish woman uses it at her table. Sláinte!
Easiest Freaking Brown Irish Soda Bread Ingredients:
Directions:
Homemade Salted Caramel Sauce (aka Liquid Crack) and Salted Caramel Cream Cheese Frosting10/26/2017
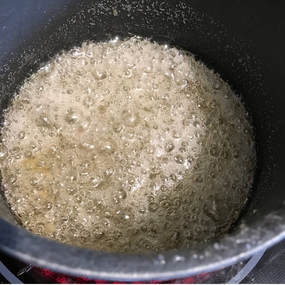
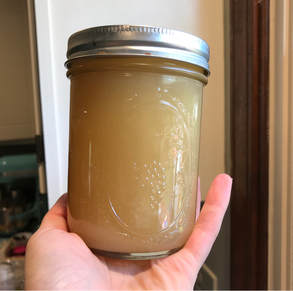
Ok, friends, I promised a follow up to my awesome and easy pumpkin cupcake/cake recipe. So here it is. This is my salted caramel recipe and the corresponding frosting. The caramel can be injected into cupcakes or just drizzled between the layers of cake before adding the frosting filling. The sauce should also be drizzled on top for a little something extra. The leftover sauce is fantastic on top of ice cream….mmmmmm….iiiiccce creeaaammmm.
Salted Caramel Sauce
Instructions:
Salted Caramel Cream Cheese Frosting
Instructions:
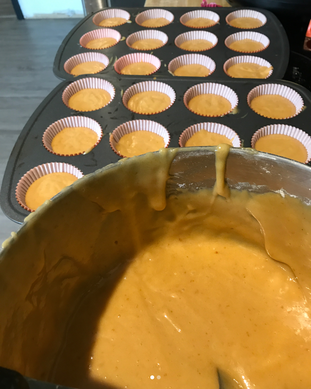
This may make me basic, but I love all things Fall; pumpkin carving, leaves changing, pumpkin spice lattes, apple picking, and cute sweaters. So I wanted to make a cake base that screamed Fall. So here birthed the Pumpkin cake; moist, pumpkinny and so delicious. I made mine into cupcakes with a salted caramel cream cheese icing and a homemade salted caramel sauce to top. I will add the salted caramel and the icing onto a separate post when I get a chance!
Pumpkin Cake Ingredients:
Directions:
 Hey Y’all! Hope the holiday treated you well and you filled up on S’mores for me. Maybe with a bar of ghiradelli 72% dark chocolate…..yummmmm.
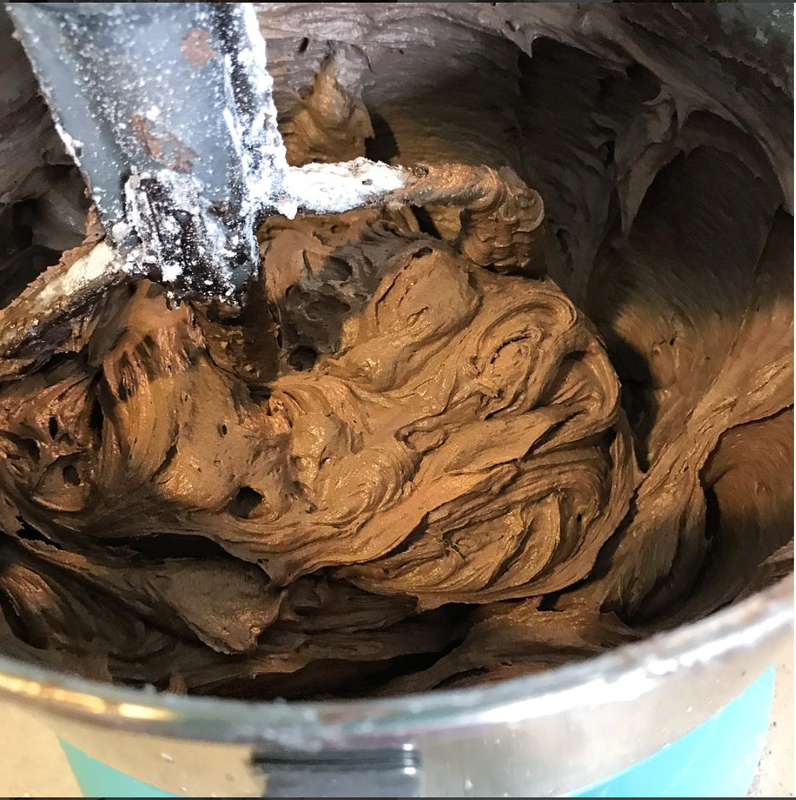
I have been pretty busy around here. We sold our house and we bought another one and we are deep into that process. Very stressful and it has made me want to BAKE!! Its how I deal with stress. If I am making cakes for no reason at 10 PM on IG you know it was a tough day. Speaking of chocolate cakes, I tried out a peanut butter cake with dark chocolate frosting not too long ago. My dark chocolate America buttercream is delicious but I think my peanut butter cake needs a bit of tweaking before I share that one. So without further ado, here is my super easy Dark Chocolate America dream Buttercream recipe! Dark Chocolate American Dream Buttercream
Instructions:
Note: If your mixture seems dry, add more milk. If it seems to wet to hold shape then add a teeny bit of sugar at a time until it looks right. 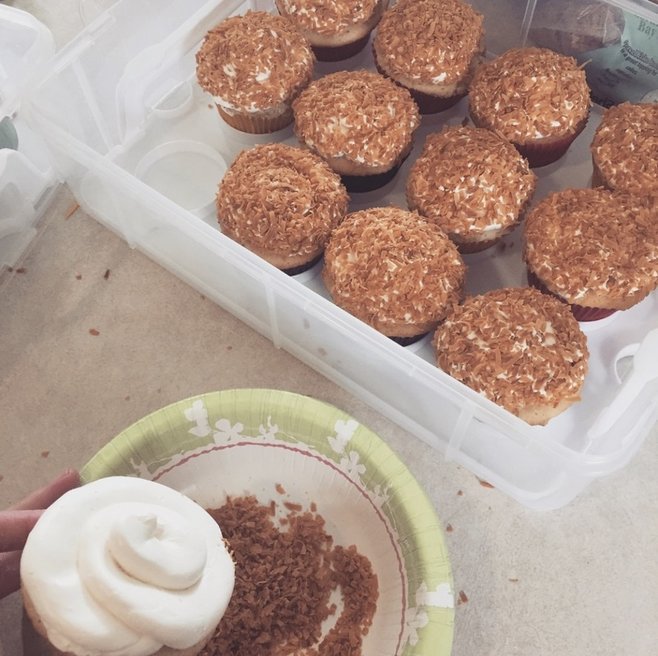 So I found this recipe back and April and I converted it into a cupcake recipe for my friend Marcia’s birthday. She loves coconut and I am SOOO with her I love it too. I also loved this cake recipe because it uses Swiss Meringue Buttercream, which is my absolute favorite; creamy, and WAAAAY less messy than American (it can be a bit fussy sometimes but it is completely worth it). I also made the cake version of this recipe for my husband’s Father’s Day cake. He had one of the cupcakes from last go round and he has been thinking about it ever since. The ingredients for this one are fairly standard except the Cream of Coconut, this can be found in the liquor aisle next to the Pina Colada mixes. I have used coconut flavor in the stead of coconut extract before and it still tastes fantastic. Coconut Cream Cupcakes Cake Base: •1 large egg plus 5 large egg whites •¾ cup cream of coconut •¼ cup water •1 tsp pure vanilla extract •1 tsp coconut extract •2 ¼ cups cake flour, sifted •1 cup granulated sugar •1 Tbsp baking powder •¾ tsp salt •12 Tbsp unsalted butter, cut into 12 pieces, softened, but still cool Instructions:
Coconut Swiss Meringue Buttercream •4 large egg whites •1 cup granulated sugar •pinch table salt •4 sticks unsalted butter, each stick cut into 6 pieces, softened, but still cool •¼ cup cream of coconut •1 tsp coconut extract •1 1/4 tsp vanilla extract Topper: •1 bag of sweetened toasted coconut
Note: If you want a more illustrated version of Swiss Meringue Buttercream see this post.  So it has been a bit since I have posted last. The end of the school year caught up to me! We put our house on the market and now I am home pretty much full time with the toddler and preschoolers and lordy lordy! Sending out love to all the stay-at-home Momma’s out there, you truly fight the good fight every day. That said, here are the deets for my favorite buttercream. So I am a HUGE buttercream snob. I wasn’t, but something happened and now I am. My baking prowess has now broken me. I can no longer enjoy subpar buttercream. {Pour one out for my homies} The problem I have with traditional American buttercream is it just tastes like powdered sugar, not always but in particular Vanilla. Plus it is devilishly messy to make! All that powdered sugar just flies and coats everything. So I tried out this Swiss meringue buttercream and it is DIVINE and I rarely make anything else. That said, it’s a HUGE pain to make but damn if it isn’t worth it. So the recipe below is what I use on most of my cakes and I used this one on my birthday cake! So really this could be my birthday cake part 3 posting. That cake was bomb by the way, I highly suggest you give it a go. The Midnight Cakery’s Swiss Meringue Vanilla Buttercream
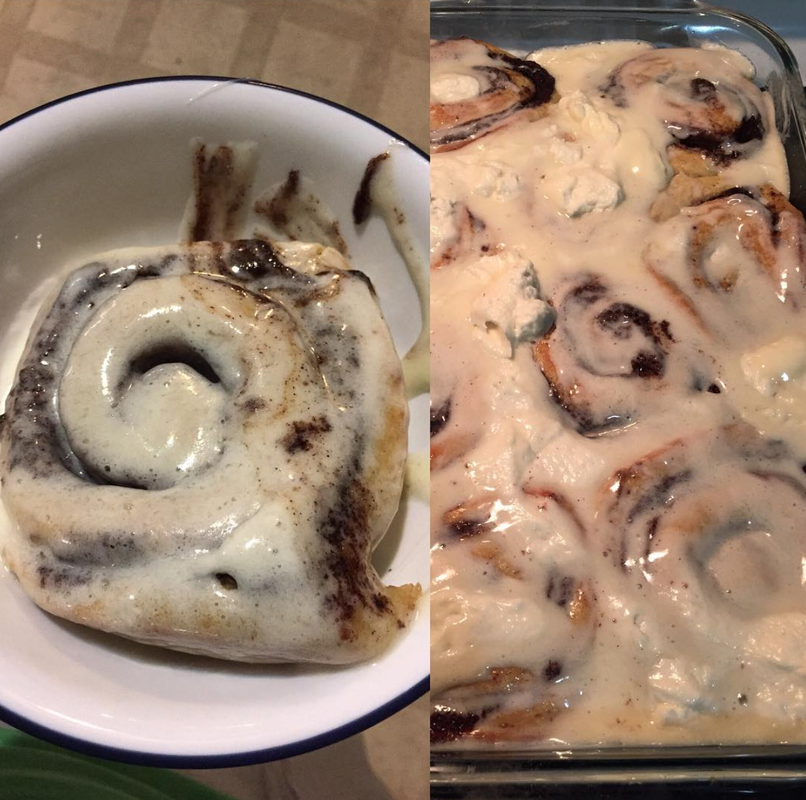 Ok, so homemade cinnamon rolls sound harder than they really are and the length of my instructions may be scaring you a little bit, but, do not fret, I am just thorough! These cinnamon rolls are a weekend favorite at our house. I actually make an entire pan of them and leave them in the fridge and warm them up in the microwave (30-45 seconds) during the week for my boys. They are still wonderful five or more days later. My cinnamon roll recipe is a little easier than most I would say, because I use the breadmaker to do most of the dough work for me. If you have been following my Instagram you have probably noticed that breadwork is not my favorite. But I keep trying so that I eventually have a shot with Paul Hollywood (dreamy). The breadmaker mixes, kneads, and rises it for you. The whole recipe is also done is stages so it is not that bad. I usually start the dough for the rolls right after dinner and then I pull the dough out and construct the cinnamon rolls after the boys are in bed. Then when they wake in the morning I do the second rise/bake and make the icing. Although you can totally make the icing the night before and just leave it on the counter. DO NOT put the icing in the fridge or it will be like a rock when you pull it out for the next morning. I hope that these will become a favorite of your family’s as well and send me pics! Tag me on your photos on Instagram or comment here! I want to see those puppies! Original recipe based off of the one from this blog. Ingredients: Dough: 4 cups unbleached all-purpose flour 1/3 cup white sugar 1 tsp salt 1 Tbsp dry breadmaker yeast 2 eggs ½ cup melted butter 1 cup warm milk Filling: ¼ cup softened unsalted butter 1 cup brown sugar 3 Tbsp cinnamon Icing: ½ cup softened butter 1 oz cream cheese 1 ½ cup powdered sugar 2 Tbsp whipping cream 1 ½ tsp vanilla pinch of salt Dough Instructions:
Filling Instructions
Second Rise and Baking Instructions
Icing Instructions
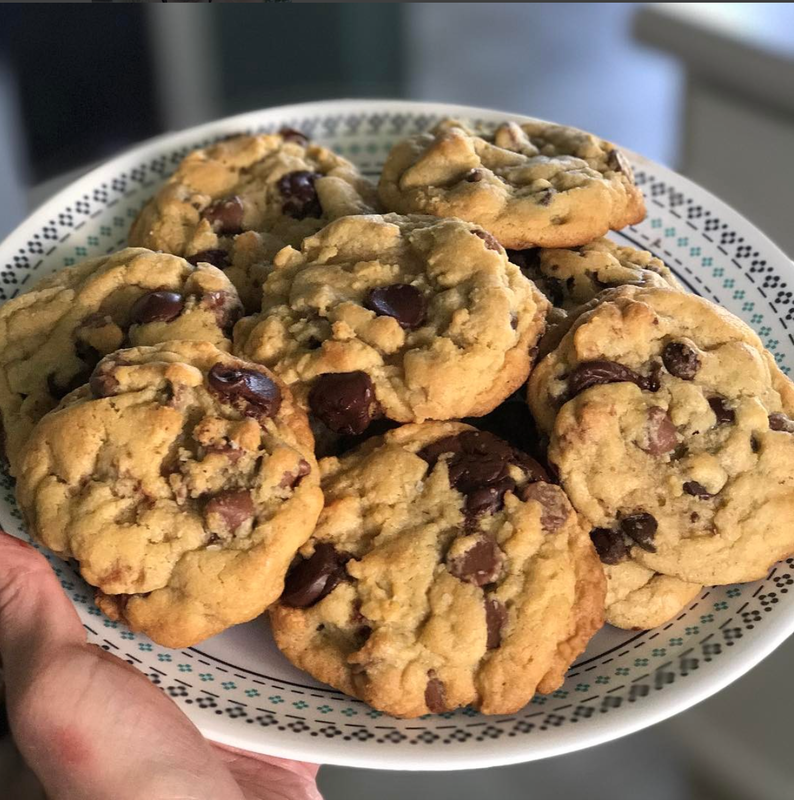 My husband is the biggest chocolate chip cookie snob. So I knew that if I was going to attempt a new chocolate chip cookie recipe I needed to pull out the big guns. I kept seeing pins on Pinterest for the New York Times recipe and how amazing this recipe was, so I decided to give this one a shot. The pictures looked impossibly appetizing (see above). To start this recipe off you may want to know that you are going to need to get a few ingredients that you do not normally carry in your pantry and the dough is going to need to chill for 24-36 hours in your fridge. I did however make a quick batch of six to try it out and I will say they were right… it was worth the wait. The ones I made first were good but they were even better after. Also the sprinkling of salt on top is NOT optional it is what pulls the whole flavor together.
For the original recipe click here. INGREDIENTS
*If you do not have cake flour on hand you can remove 2 Tbl for every cup of all-purpose flour and replace it with 2 Tbl of cornstarch. ** The NYT recipe asks for something harder to find and more expensive. This is the best substitution but I would NOT sub these chips out for any others. Low quality chips makes for a low quality cookie. INSTRUCTIONS:
* You can use a different method for storing the cookie balls; this was just the one that worked best for me. Just be sure that it is covered and not exposed to a lot of air or else it will form a harder shell. 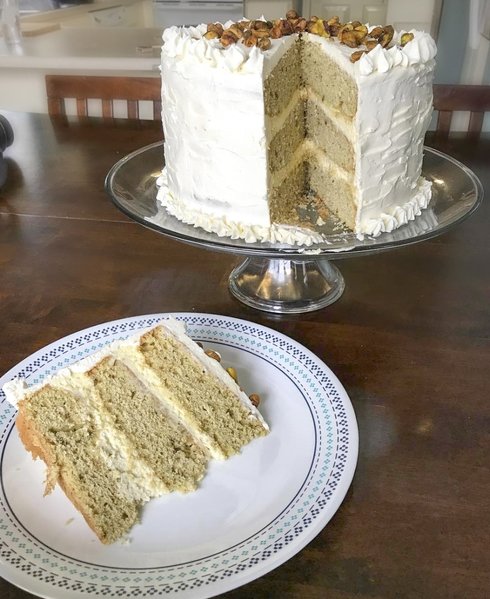 For Part 2 of my birthday cake post we will tackle the pistachio cake base. This cake base was DELICIOUS: light, airy, vanilla-y, and with a small amount of soft crunch from the 2 tbsp. chopped pistachios. However the recipe is quite strange; it has several different types of leavening agents, which I now realize is to combat the heaviness that the moist pistachios bring to the batter. The original recipe came to us from this blog, but I changed a few things to my preference. I hope you enjoy this cake as much as my friends and I did. Let me know if you try it out! I want to hear some feedback. Better yet, take a picture and tag me in your IG post @midnightcakery ! Happy Baking! P.S. Pictures with step descriptions are below the recipe. Ingredients:
Instructions:
|
AuthorJust a girl trying out recipes one experiment at a time. Archives
June 2018
Categories |

 RSS Feed
