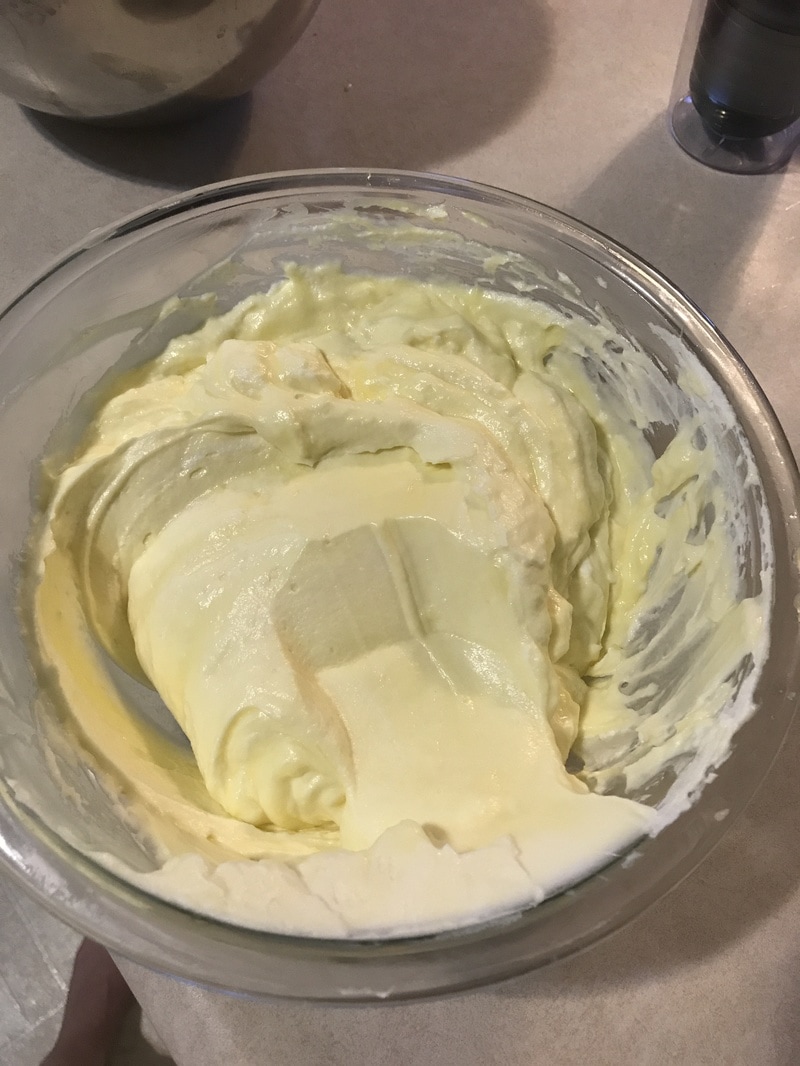
 Yes, I made my own birthday cake. I am making everyone else's birthday cakes so I figured I would just go ahead and whip up my own as well so that I won't be disappointed! Plus it gave me a reason to try out a new recipe, which always excites me. So, to make my birthday cake I ended up using recipes from several sources and altering them here and there. I also created the cake in stages over several nights; after all I do have to clean up the house, do some laundry, and sleep some. So I started with a part of the cake that can be made several days in advance and left in the fridge until needed: the lemon white chocolate mousse filling. Leaving it in the fridge for a couple of days actually ended up working wonderfully, as it was stiffer and held up the cake layers nicely. Also, this filling is so delicious that I wanted to scrap the cake, get a spoon and just go to town. The original idea for the cake and the filling recipe is coming to us from this blog with some changes. For this filling you will actually create three different mixtures for the filling: homemade lemon curd, white chocolate ganache, and homemade whipped cream, then you will fold them all together at the end. So lets get started!  Lemon White Chocolate Dream Mousse Filling For the lemon curd: ½ cup fresh lemon juice ( I squeezed my own and it took about 3.5 lemons)* 3 Tbls unsalted butter 3 large eggs 1 large egg yolk (save the white for the icing or cake base) ½ cup granulated sugar ¼ tsp vanilla extract 1/8 tsp salt 1. In a small saucepan, heat lemon juice and butter over medium-high heat. Bring it to barely a boil. 3. In a separate large heat proof bowl, whisk eggs, egg yolk and sugar together until smooth. 4. Very slowly pour a small stream of the hot lemon mixture into the sugar and eggs while whisking rapidly. 5. Pour the lemon-egg mixture back into the saucepan over a medium heat and lightly whisk constantly for the next 2-4 minutes. Do not allow the mixture to boil at this stage or it will curdle. The curd will begin to thicken after about 2 minutes and the mixture will change from translucent to a milky buttercup color. It is ready to be taken off the hear when it is thick enough to coat the back of a wooden spoon. 6. When curd has thickened a bit pull it off the heat and transfer to a bowl. I use the same bowl from earlier and just rinse it out. 7. Stir in the vanilla and salt until combined. 8. Set aside. The curd will continue to thicken up as it rests and starts to cool. 9. Wash and dry your saucepan to use again for the ganache. *Note: To get the most juice out of your lemons roll them across the countertop pressing down with your hands using a light pressure. **Also use a non-reactive pan to prevent turning the yolks green (ew).  White Chocolate Ganache: ¼ cup heavy cream 3 ounces white chocolate ( I used Ghirardelli white chocolate chips) 1. In a small saucepan, heat ¼ cup heavy cream bringing it just to a boil. 2. Remove from heat. 3. Mix in the white chocolate chips and stir until fully melted. 4. Set aside to cool. When it is lukewarm you can add the chocolate to the lemon curd in the heat-proof bowl and stir to fully combine. Place the bowl into the fridge to finish off the cooling process.  Whipped Cream: 1 ½ cups whipping cream 1. Pour the whipping cream into the bowl of a stand mixer. 2. Using the whisk attachment whip cream until you get firm peaks. This takes around two minutes. Combine: 1. When both the lemon curd-white chocolate ganache mixture is FULLY cooled, take a small amount of the whipped cream mixture into the curd and fold it gently until well combined. 2. Next, fold the remaining whipped cream mixture into the curd very gently until it is well combined. 3. Cover the bowl and place into the fridge until ready to use.
0 Comments
 I love biscotti. I love anything that encourages you to do something that goes against Emily Post. It is a cookie that you are SUPPOSED to dunk! It doesn't get much better than that. This biscotti is my current favorite; it is chocolatey, rich, and has a wonderful walnut crunch. However, I have to send them to my husband's office every time I make a batch or I will end up eating the entire pan. Well, now I have gotten my husband's co-worker (Hi Win!) addicted to them as well and he has requested the recipe. I have never officially written it down so I started a blog to help me share my recipes easily, and also document my "adventures." I recently had a large fail with a babka recipe that broke my Grandmother's antique kitchen-aide... but we will save that for another time. In the meantime, Buon Appetito!
Ingredients: 6 tablespoons unsalted butter, softened 1 cup sugar 2 eggs 1 teaspoon vanilla extract 2 cups flour (I prefer unbleached) 1/2 cup dark cocoa powder 1 teaspoon baking soda 1/2 teaspoon salt (coarse salt or coarse sea salt give a nice burst of saltiness) 1 cup semi-sweet or milk chocolate chips 1/2 cup walnuts Instructions: 1. Using the paddle attachment on a stand mixer cream together the butter and sugar. Next, add eggs and vanilla and beat until well combined. 2. In a separate medium sized bowl, mix together the flour, dark cocoa powder, baking soda, and salt. 3. Slowly add the dry ingredients to the wet mixture until combined. This will create an incredibly thick dough. 4. Next You will need to add in the chocolate chips and the walnuts. I usually start out with the paddle attachment and go extremely slowly but usually end up finishing it with my hands to blend in all of the chips and the walnuts. I try to be careful not to smoosh it down too much with my hands, because it seems to create a more brittle cookie. 5. Next, prep a cookie sheet with cooking spray and "pour" or "plop" the biscotti dough onto the center. Use your hands to form the dough into a 12"×4" flattened log. 6. Pop the biscotti in the over and bake at 350 for 30 minutes. 7. While these are baking prepare another cookie sheet as you will most likely need a second one after you separate the cookies for the second bake. 8. Cool the biscotti for 5 minutes then cut into approximately 1/2-3/4" wide cookies. Use a long and sharp non-serrated knife (this will give you the cleanest cut), line up the knife into place and press down firmly on the top to cut in one swift motion. It is easy to break these when cutting so be gentle when handling. 9. Place the biscotti cut side down on the 2 cookie sheets and bake for 8 minutes. Be careful here to pay attention to the cookies while baking as some ovens bake differently and it is hard to tell when a chocolate dough is done as it is already dark in color. 10. Remove the biscotti from the oven and very gently flip each cookie and bake for a final 5 minutes. 11. Cool on a wire rack and store in an air-tight container. *Note: The cookies will become less brittle as they cool and will be easier to handle. I like to make them at night and sit out until morning. |
AuthorJust a girl trying out recipes one experiment at a time. Archives
June 2018
Categories |


 RSS Feed
